
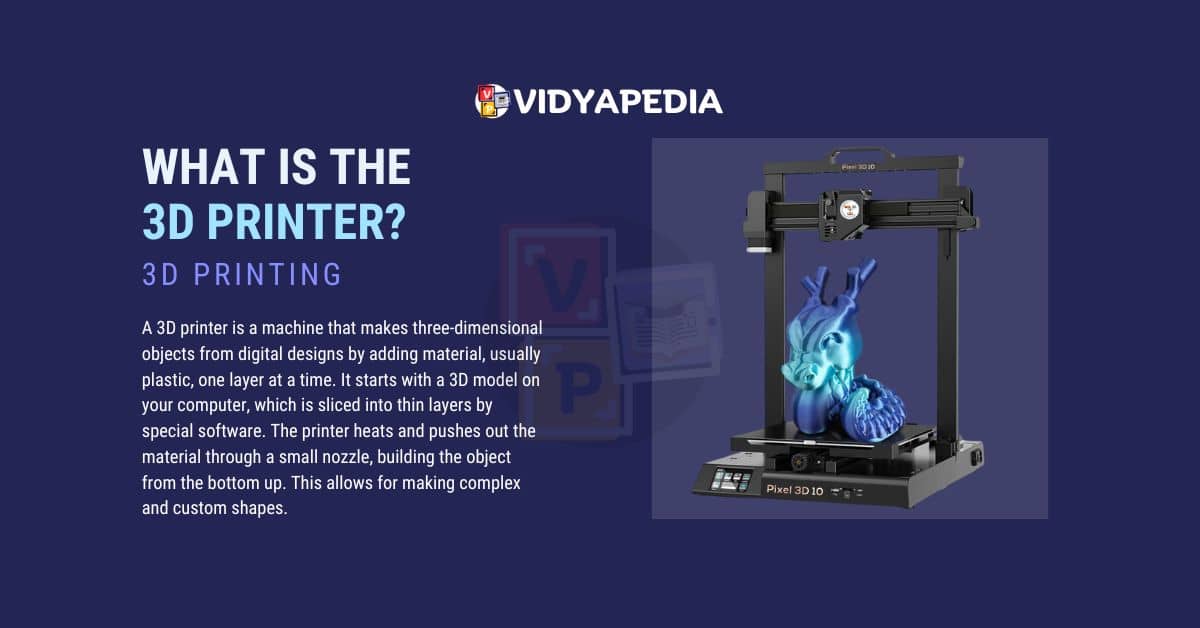
A 3D printer is a machine that makes three-dimensional objects from digital designs by adding material, usually plastic, one layer at a time. It starts with a 3D model on your computer, which is sliced into thin layers by special software. The printer heats and pushes out the material through a small nozzle, building the object from the bottom up. This allows for making complex and custom shapes.
3D printing is also called rapid prototyping because it can quickly create a 3D model on a reasonably sized machine connected to a computer. The machine uses data from the 3D model’s software or blueprint. This method uses inkjet technology to build 3D models, usually from plastic. It saves time and money by getting rid of the need to design, print, and put together separate model parts, making it an efficient way to produce prototypes, parts, and even finished products.
History Of 3D Printers
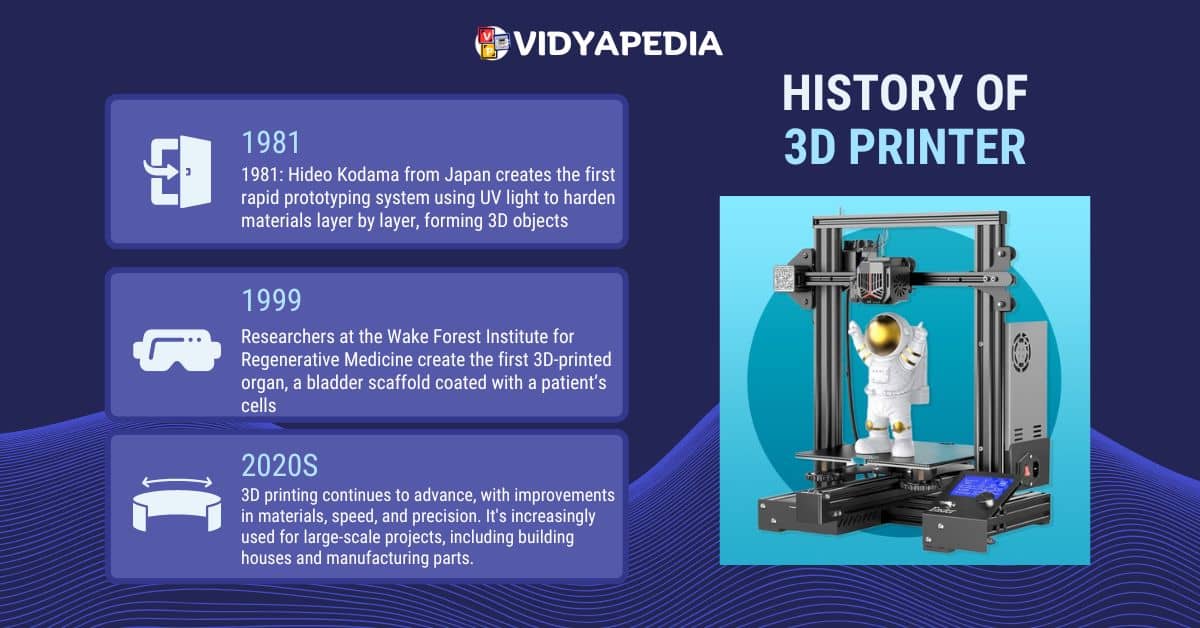
1981: Hideo Kodama from Japan creates the first rapid prototyping system using UV light to harden materials layer by layer, forming 3D objects.
1984: Charles Hull invents stereolithography (SLA), a process using UV lasers to solidify liquid plastic layer by layer. He also developed the STL file format, which is still used today. Hull co-founded 3D Systems, the first company to sell 3D printers.
1988: Scott Crump invents fused deposition modeling (FDM), a method that melts plastic filament and builds objects layer by layer. He co-founds Stratasys, a major 3D printing company.
1992: 3D Systems releases the first SLA 3D printer, the SLA-1, making 3D printing technology available commercially.
1999: Researchers at the Wake Forest Institute for Regenerative Medicine create the first 3D-printed organ, a bladder scaffold coated with a patient’s cells.
2000s: 3D printing technology improves and expands. New methods like selective laser sintering (SLS) and direct metal laser sintering (DMLS) allow printing with metal.
2008: The first 3D-printed prosthetic leg is made, showing the potential for custom medical devices.
2009: Key patents for FDM expire, leading to a boom in affordable consumer 3D printers. Companies like MakerBot and the RepRap Project emerge, promoting home and hobbyist 3D printing.
2013: The first 3D-printed gun, the Liberator, is successfully fired, raising questions about 3D printing regulations.
2014: NASA tests a 3D printer on the International Space Station, demonstrating the potential for making tools and parts in space.
2010s: 3D printing becomes more accessible and widely used in industries like healthcare, aerospace, automotive, and fashion.
2020s: 3D printing continues to advance, with improvements in materials, speed, and precision. It’s increasingly used for large-scale projects, including building houses and manufacturing parts.
How do 3D printers work?
- Designing in CAD Software
- Exporting the Model
- Slicing the Model
- Setting Up the Printer
- Starting the Print
- Printing Process
- Building the Object
- Finishing the Print
Designing in CAD Software: use a computer program called CAD (Computer-Aided Design) to create a 3D model of the object you want to print. Imagine drawing a detailed picture, but in three dimensions, all sides of your object. This digital model is like a virtual blueprint of your object.
Exporting the Model: Once design is ready, save it in a special file format that 3D printers can read, usually an STL file. This file contains all the information about the shape and size of your 3D model.
Slicing the Model: then open this STL file in another program called slicing software. This software cuts your 3D model into many thin, horizontal layers, like slicing a loaf of bread. It also creates instructions (G-code) for the 3D printer, telling it exactly how to build each layer.
Setting Up the Printer: Before printing, you need to prepare the 3D printer. This involves loading the material (usually a plastic filament) into the printer. Make sure the print bed (the surface where your object will be printed) is clean and flat.
Starting the Print: Transfer the G-code file to the 3D printer, using a USB drive, SD card, or network connection. Start the printing process. The printer heats up the nozzle (where the filament comes out) and the print bed to the right temperatures.
Printing Process: The 3D printer begins by melting the plastic filament. The nozzle moves over the print bed, laying down the melted plastic to form the first layer of your object. It moves back and forth, following the instructions from the G-code, to create the shape of this layer.
Building the Object: After finishing the first layer, the printer moves up slightly and starts printing the next layer on top of the first one. It repeats this process, layer by layer, building your object from the bottom up. Each new layer sticks to the one below it, and the plastic hardens as it cools.
Finishing the Print: Once the printer has finished all the layers, your 3D object is complete. Carefully remove it from the print bed. Sometimes, you might need to do a little cleaning up, like removing extra bits of plastic that were used to support parts of the object during printing.